Winter break for me ended quite uneventfully (unless you count the plane ride back when a passenger broke the overhead bin or the fact that the x-ray machine for luggages broke for a good 15 minutes in security). I’m back in the grind of school and unforgiving chilly winds of winter with snowstorms here and there, which for me is the deal breaker in this whole whole business. Not the school part, just the weather part.


Supplies
- Cardstock of various colors
- X-acto knife and cutting board
- Pencil
- Scissors
- Glue stick
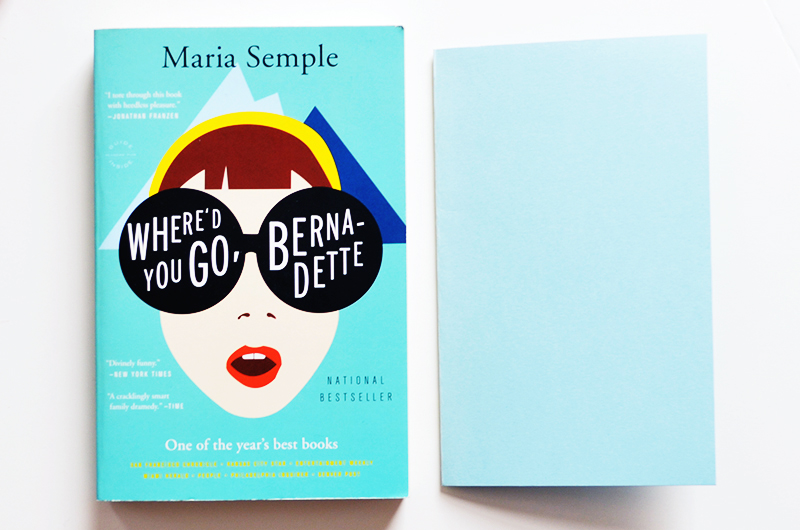
1. Fold your paper in half. I like to trim the ends of my cards to ensure that the edges all line up.
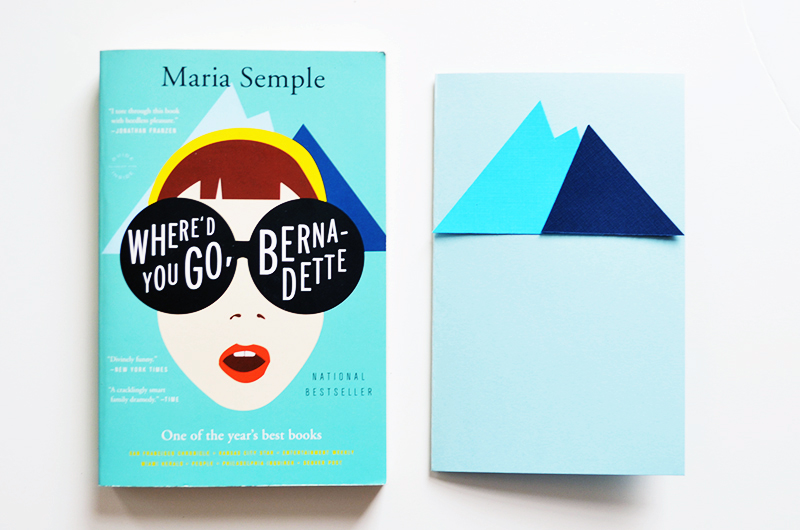
2. Start with whatever is in the background the farthest. In this case, it’s the blue mountains. Sketch the shapes onto the colored pieces of paper. Make sure that the sizes are relative to the overall size of the card.
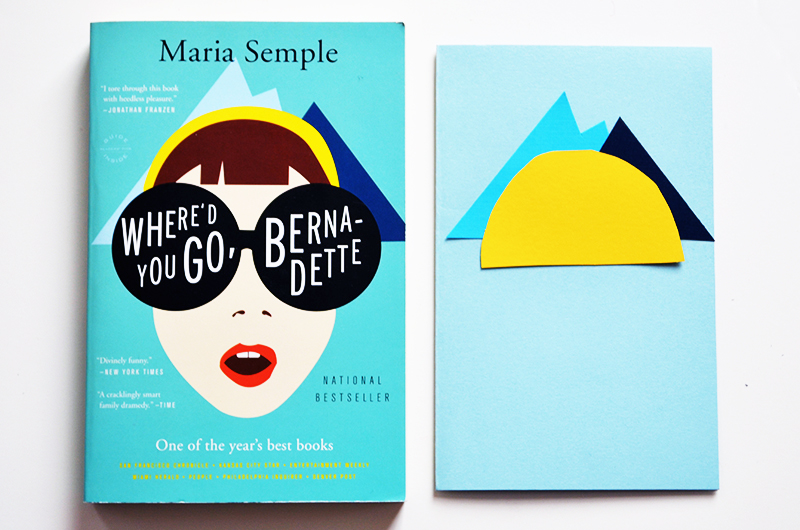
3. Next is the yellow headband that Bernadette is wearing. It’s a half-moon shape.
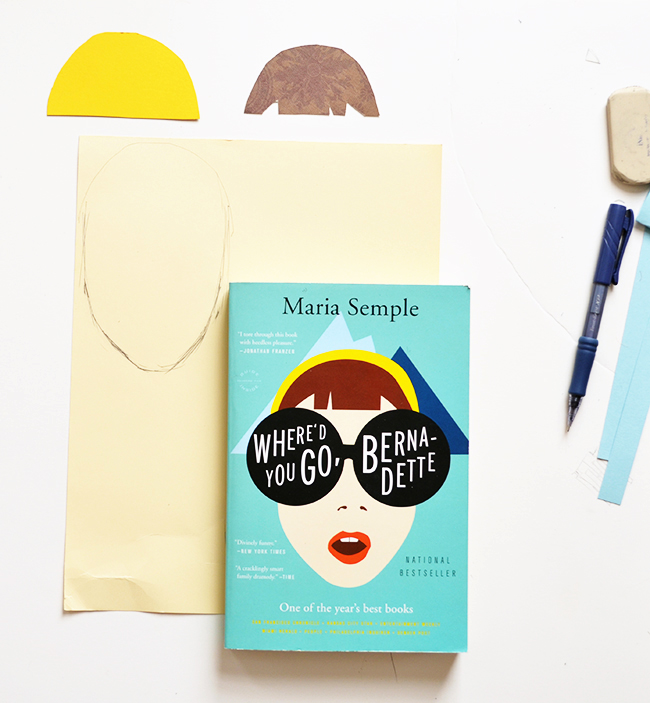
4. Next are Bernadette’s bangs. Cut a smaller half-moon shape and snip a couple of triangles away. Cut out a face shape as well.
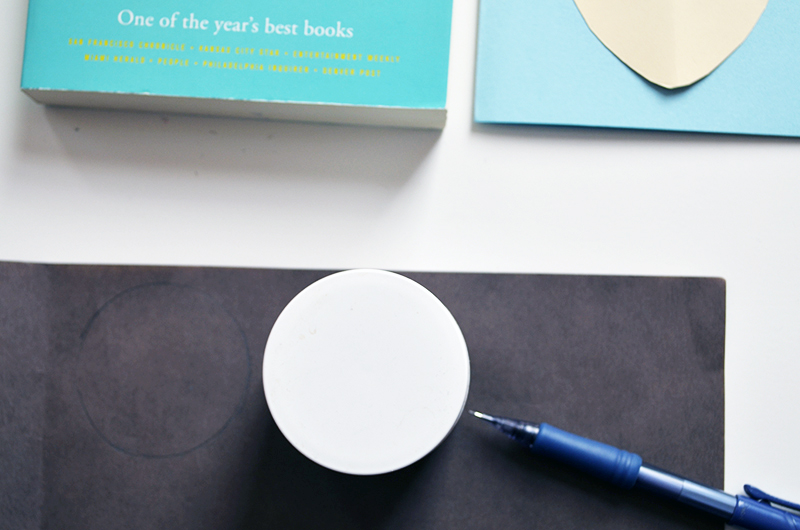
5. Trace two circles using a circular object. Make sure the two circles are close to each other. Connect the two circles with two lines. This will become Bernadette’s sunglasses.
6. Next are Bernadette’s mouth and nostrils. The nostrils are two tiny scraps of paper (I used the same paper that I used for the hair). I sketched out a similar sized mouth by looking at the cover mouth. Two curved lines connected make up Bernadette’s inner mouth and two squares make up her teeth.
7. Looking at everything laid out, I decide that I don’t like the size of her sunglasses (too big) and that her bangs need to be more rectangular. I trim everything down.
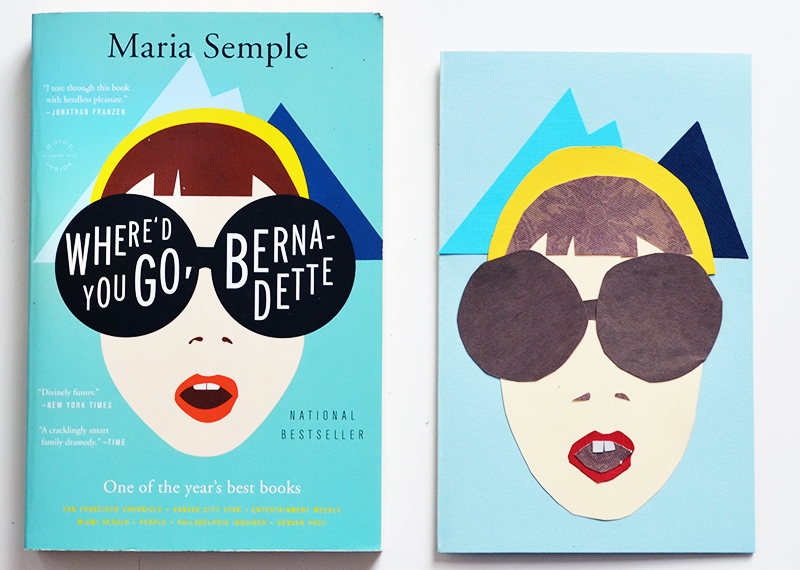
8. Time to glue everything down.
Viola! You’re done.
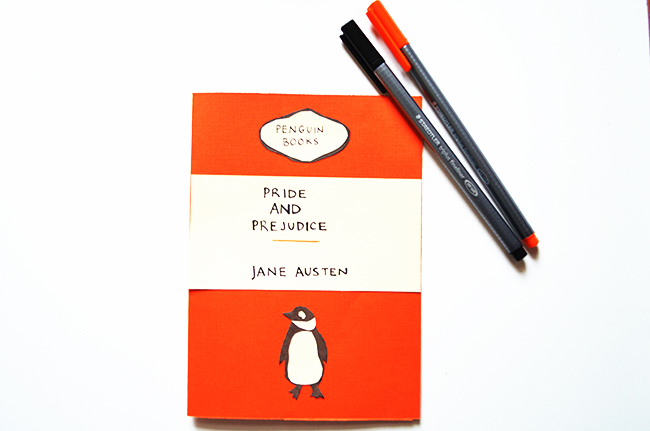
P.S If you’re looking for DIY Penguin Classics cards, I made a tutorial over at Quirk Books!
What are some of your favorite DIYs? Do you like making cards? Do you like DIY?
